Like most mother's, I eagerly anticipated the birthday of my first and only child.
I wanted everything to be perfect!
So a few months beforehand I began researching ideas on Pinterest for her party.
I wanted something unique and not theme related to any characters, and in my search I found
"ONE IN A FLASH"!
It's original source was
Elle Belle's Creations;
her party was over the top and had me excited to start planning.
I also checked out a few other's who had used the same idea. Go check out
The Macs aswell!
Both of these mother's were able to create beautiful, affordable parties that, I believe, created lasting memories!
For Harper's invites I used
Sassygfx on Etsy.
It was $16.00 for the digital file.
I just e-mailed her the details of the party and a few photos of Harper that my cousin, Anna, and I took, she sent me a proof and had me approve, and then she sent me the final file for print.
From there I just went to my local Wal-Mart and had them printed!
My favorite part of this whole party, was the basis of it centering around photos.
I set a photo booth in my home salon using two flat, white sheets and a few items that added pops of color w/o taking away from the people in the photos: paper garland, a green chair, props, and balloons!
Check
here for a tutorial on how to make the paper garland!
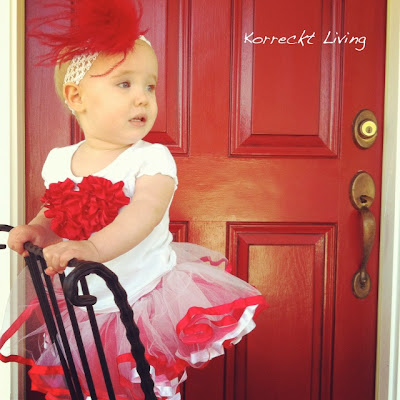
The sweet birthday girl!
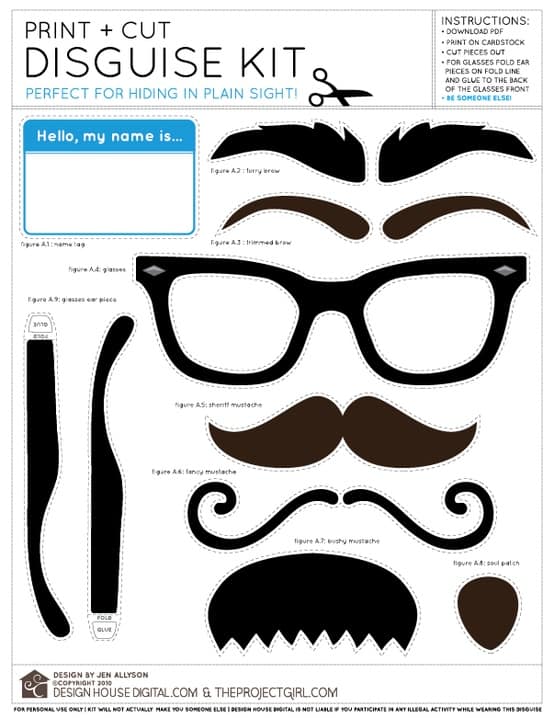
Here is the free printable that I used to create the photos props.
I printed the originals and cut them out and then hot glued them to skewers sticks, making sure to glue over the pointed end. I then used the originals as templates to cut out more colorful replicas of the same items. I had one bucket of props here in the photo booth.
I also created a second bucket of props to use as a centerpiece on the picnic table outside!
Everyone had a great time in here.
Excuse the picture overload. I tried to only use my favorites, but
we had so much fun!
After taking photos we went outside for cake and the hubby grilled hot dogs.
Somehow in the hustle and bustle of the party, we forgot to photograph the food setup w/ the cupcake stand......tear! There was a lot of work put into them.
Oh well....
I made a pendant banner out of scrapbook paper and printed the letters to Harper's name onto card stock as a topper for her cake.
I simply used a glue stick to attach the two different papers.
Then I used the glue stick to attach the pendants to the red/white baker's twine.
I tied the twine to wooden skewers to stick into Harper's smash cake.
Harper feeding daddy!
Sweet kisses for mommy!
SMASH!!!
Here are a few photos of Harper opening her gifts.
I was pretty impressed with her attention span during this!!
She received some great gifts!
We had a bounce house and the trampoline set up for the kids!
All of the kids received these glasses and bubbles, from Hobby Lobby, that were in little brown bags with the saying, "Thanks for making Harper's birthday Picture Perfect!"
Harper loved the glasses minus the nose!
Can you tell that a certain little girl had partied too hard at this point?
Thank you to everyone that made Harper's day extra special!
And an EXTRA BIG THANK YOU to my cousin, Anna, for taking the photos and helping with the decorations.
Also to my sister, Erica, for your support and for glueing all of the cupcake toppers together, that were not pictured!
Lastly, to my awesome sister-in-law for baking the cupcakes and cake!
LOVE,
THE KORRECKT'S


